Name of Project: Neighborhood Pop-Out Book Workshop
Grade Level or Age of Participant: 2nd graders
School, Teacher and Classroom: MCBA, 24 students
Teaching Artist: Colleen McLaren
Overview of Project
Students will learn to and create a pop-out book following step by step directions. They will then have time to add cut paper illustrations to their books. The subject matter focuses on neighborhood.
“Big Ideas”/ Essential QUESTION(s)
What does your neighborhood look like? What are the landmarks? What makes it unique?
Student Outcome Objectives
Students will:
1. Learn to make the pop-out book structure
2. Successfully finish the structure of the book in the alotted time
3. Create the defined structure and individualize the content with color, shape, line and collage
Prior Knowledge
Only the subject that they want their book to be about. We teach how to properly fold and glue paper to create book structure.
Lesson Preparation Timeline
Schedule teaching
Decide on the lesson and create plan, 1 week in advance
Go over steps on how to create book, couple days before
Prep paper to proper sizes, couple days before
Layout materials needed, glue, bone folders, pencils, an hour before.
Examples of Artwork
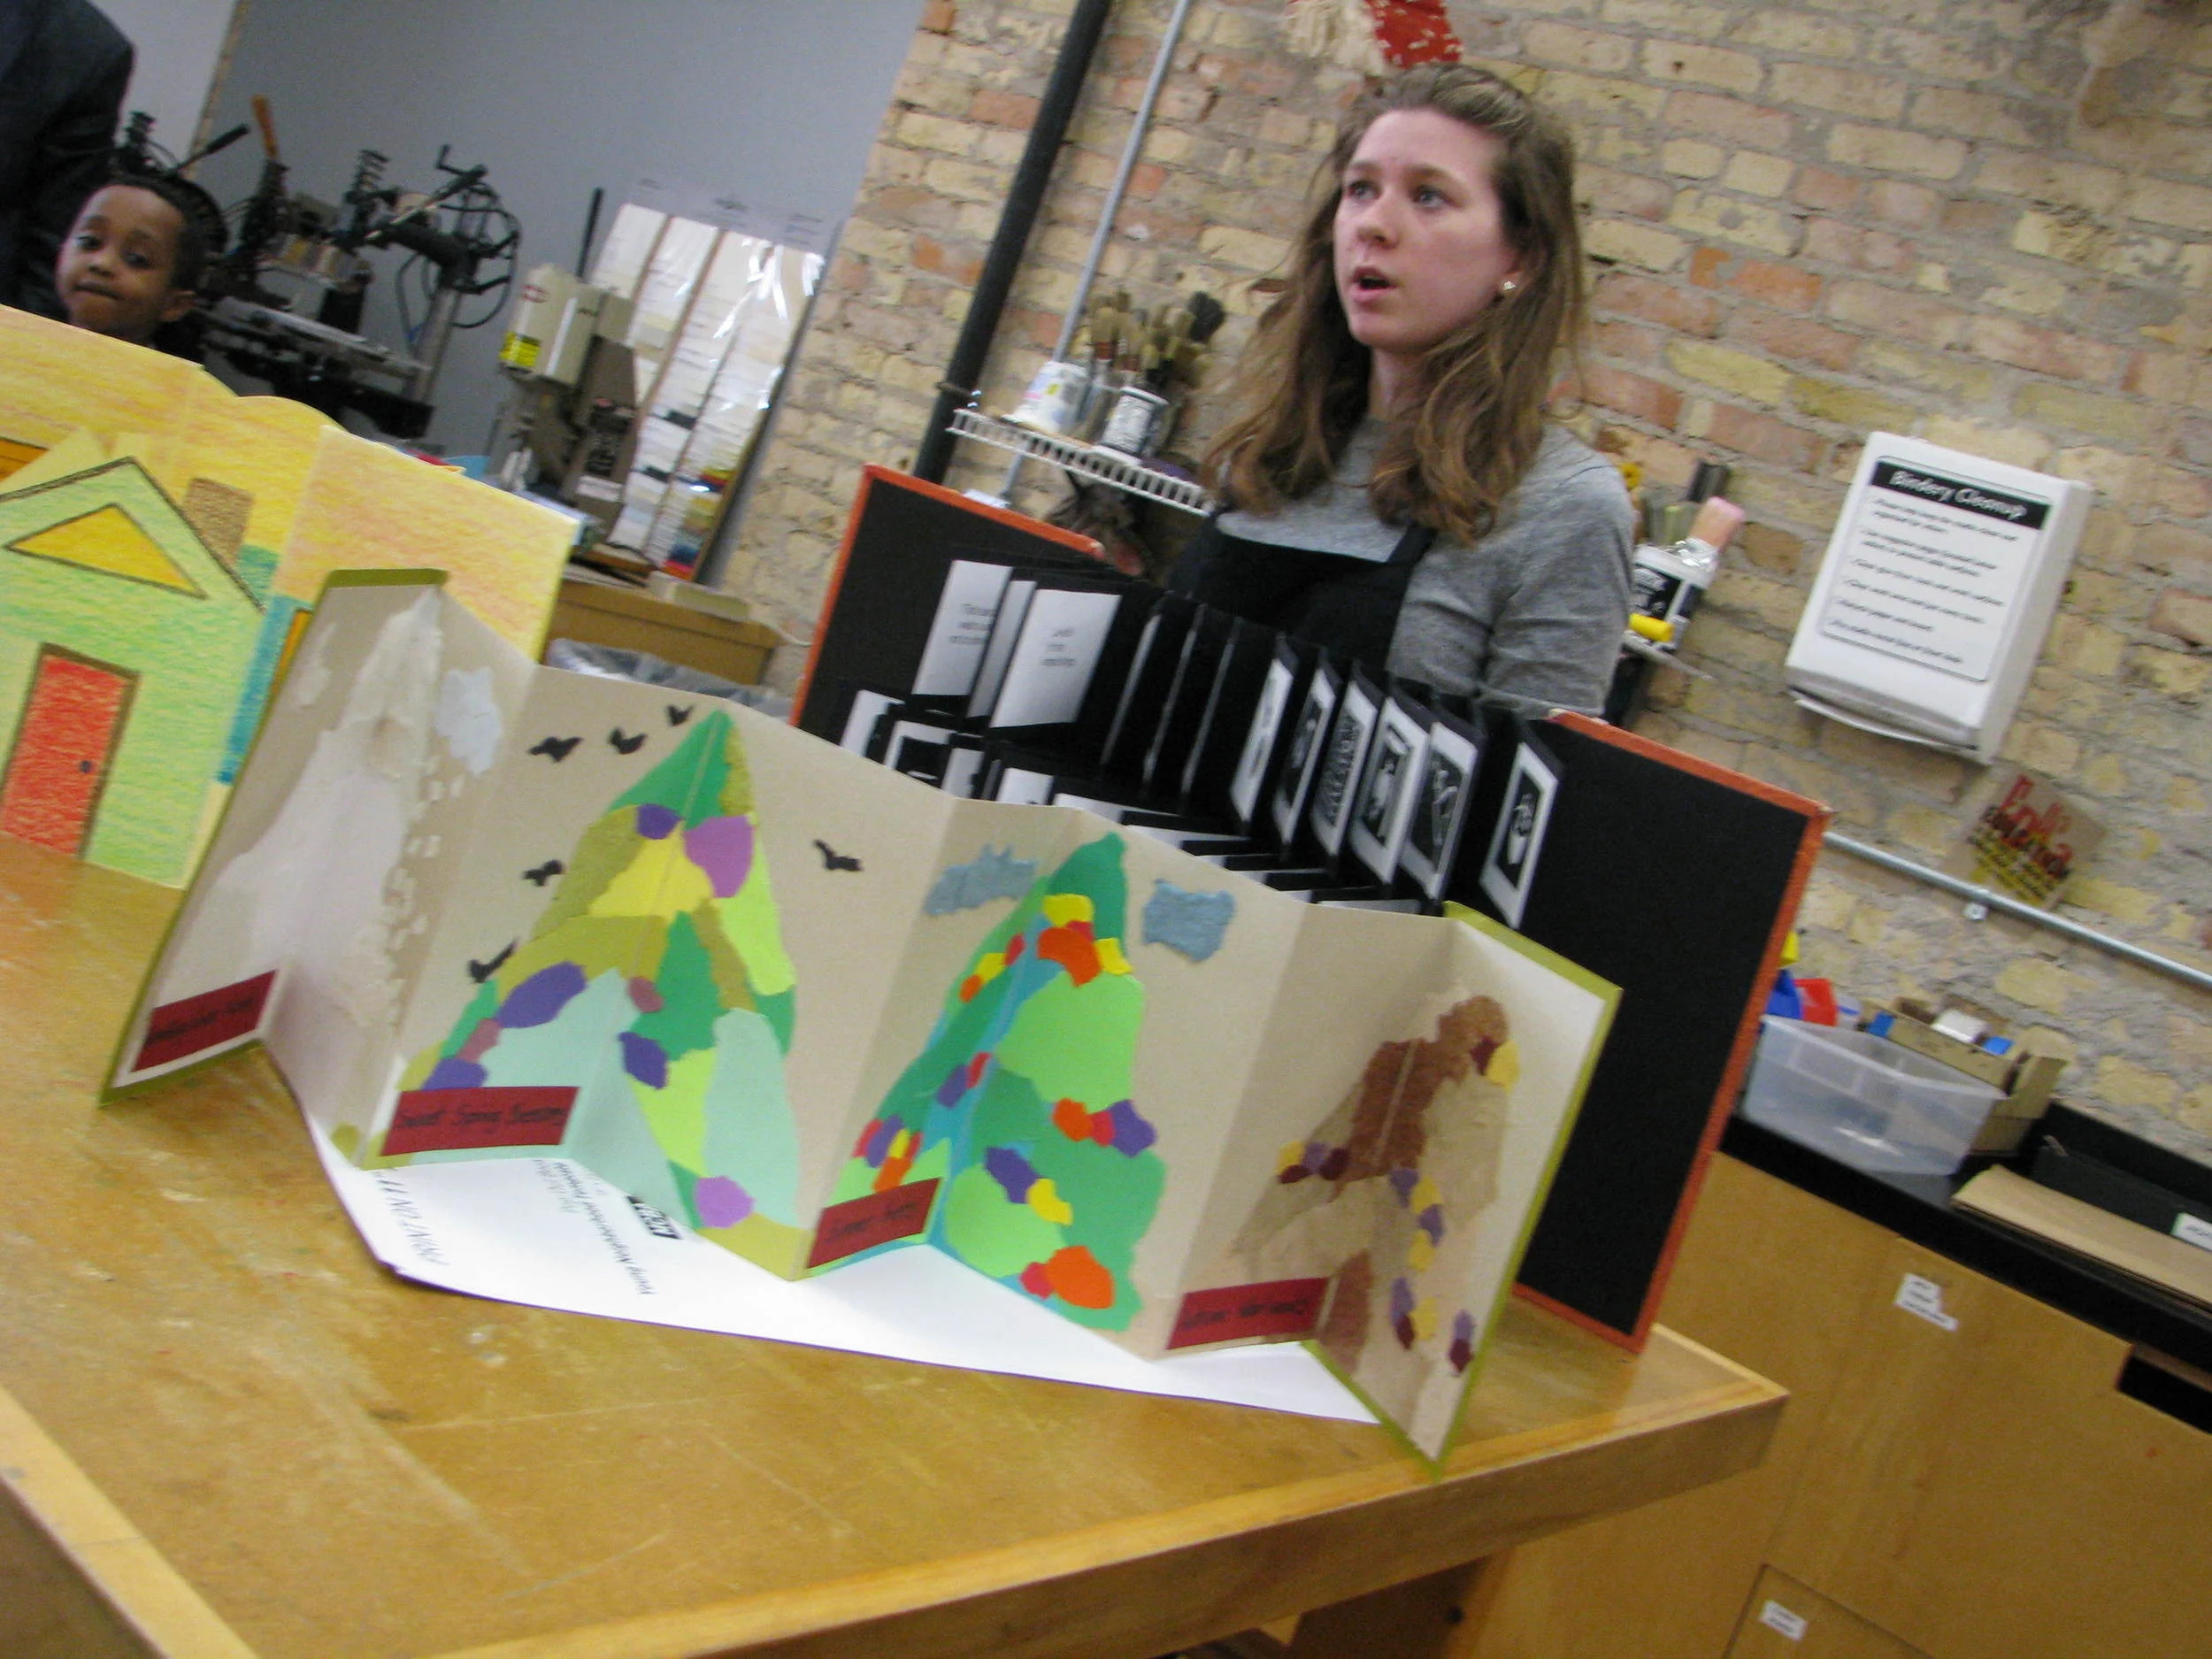
Examples come from the extensive MCBA library along with a personalize examples of the book structure. They have examples of the book structure both empty and filled with content.
Additional Resources
Books created at MCBA as templates for the students. Show them different structures like accordion, flag books, petal folds etc.
Assessment
The students will have created a book to their satisfaction. A short discussion about process and content at the conclusion of the workshop.
Materials
Glue sticks and scrap paper for interiors
Bone folders
Pencils
Paper clips
Waste sheets (scrap paper) to protect tables and finished book from glue stains
One large sheet of paper 17x22 for book structure
Template of shape to cut out
Signature stamp
Learning Activities and Timing
Introduction to MCBA
Students choose paper colors in an orderly fashion
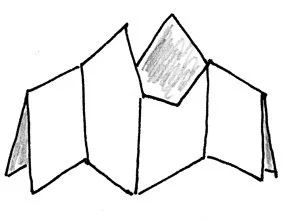
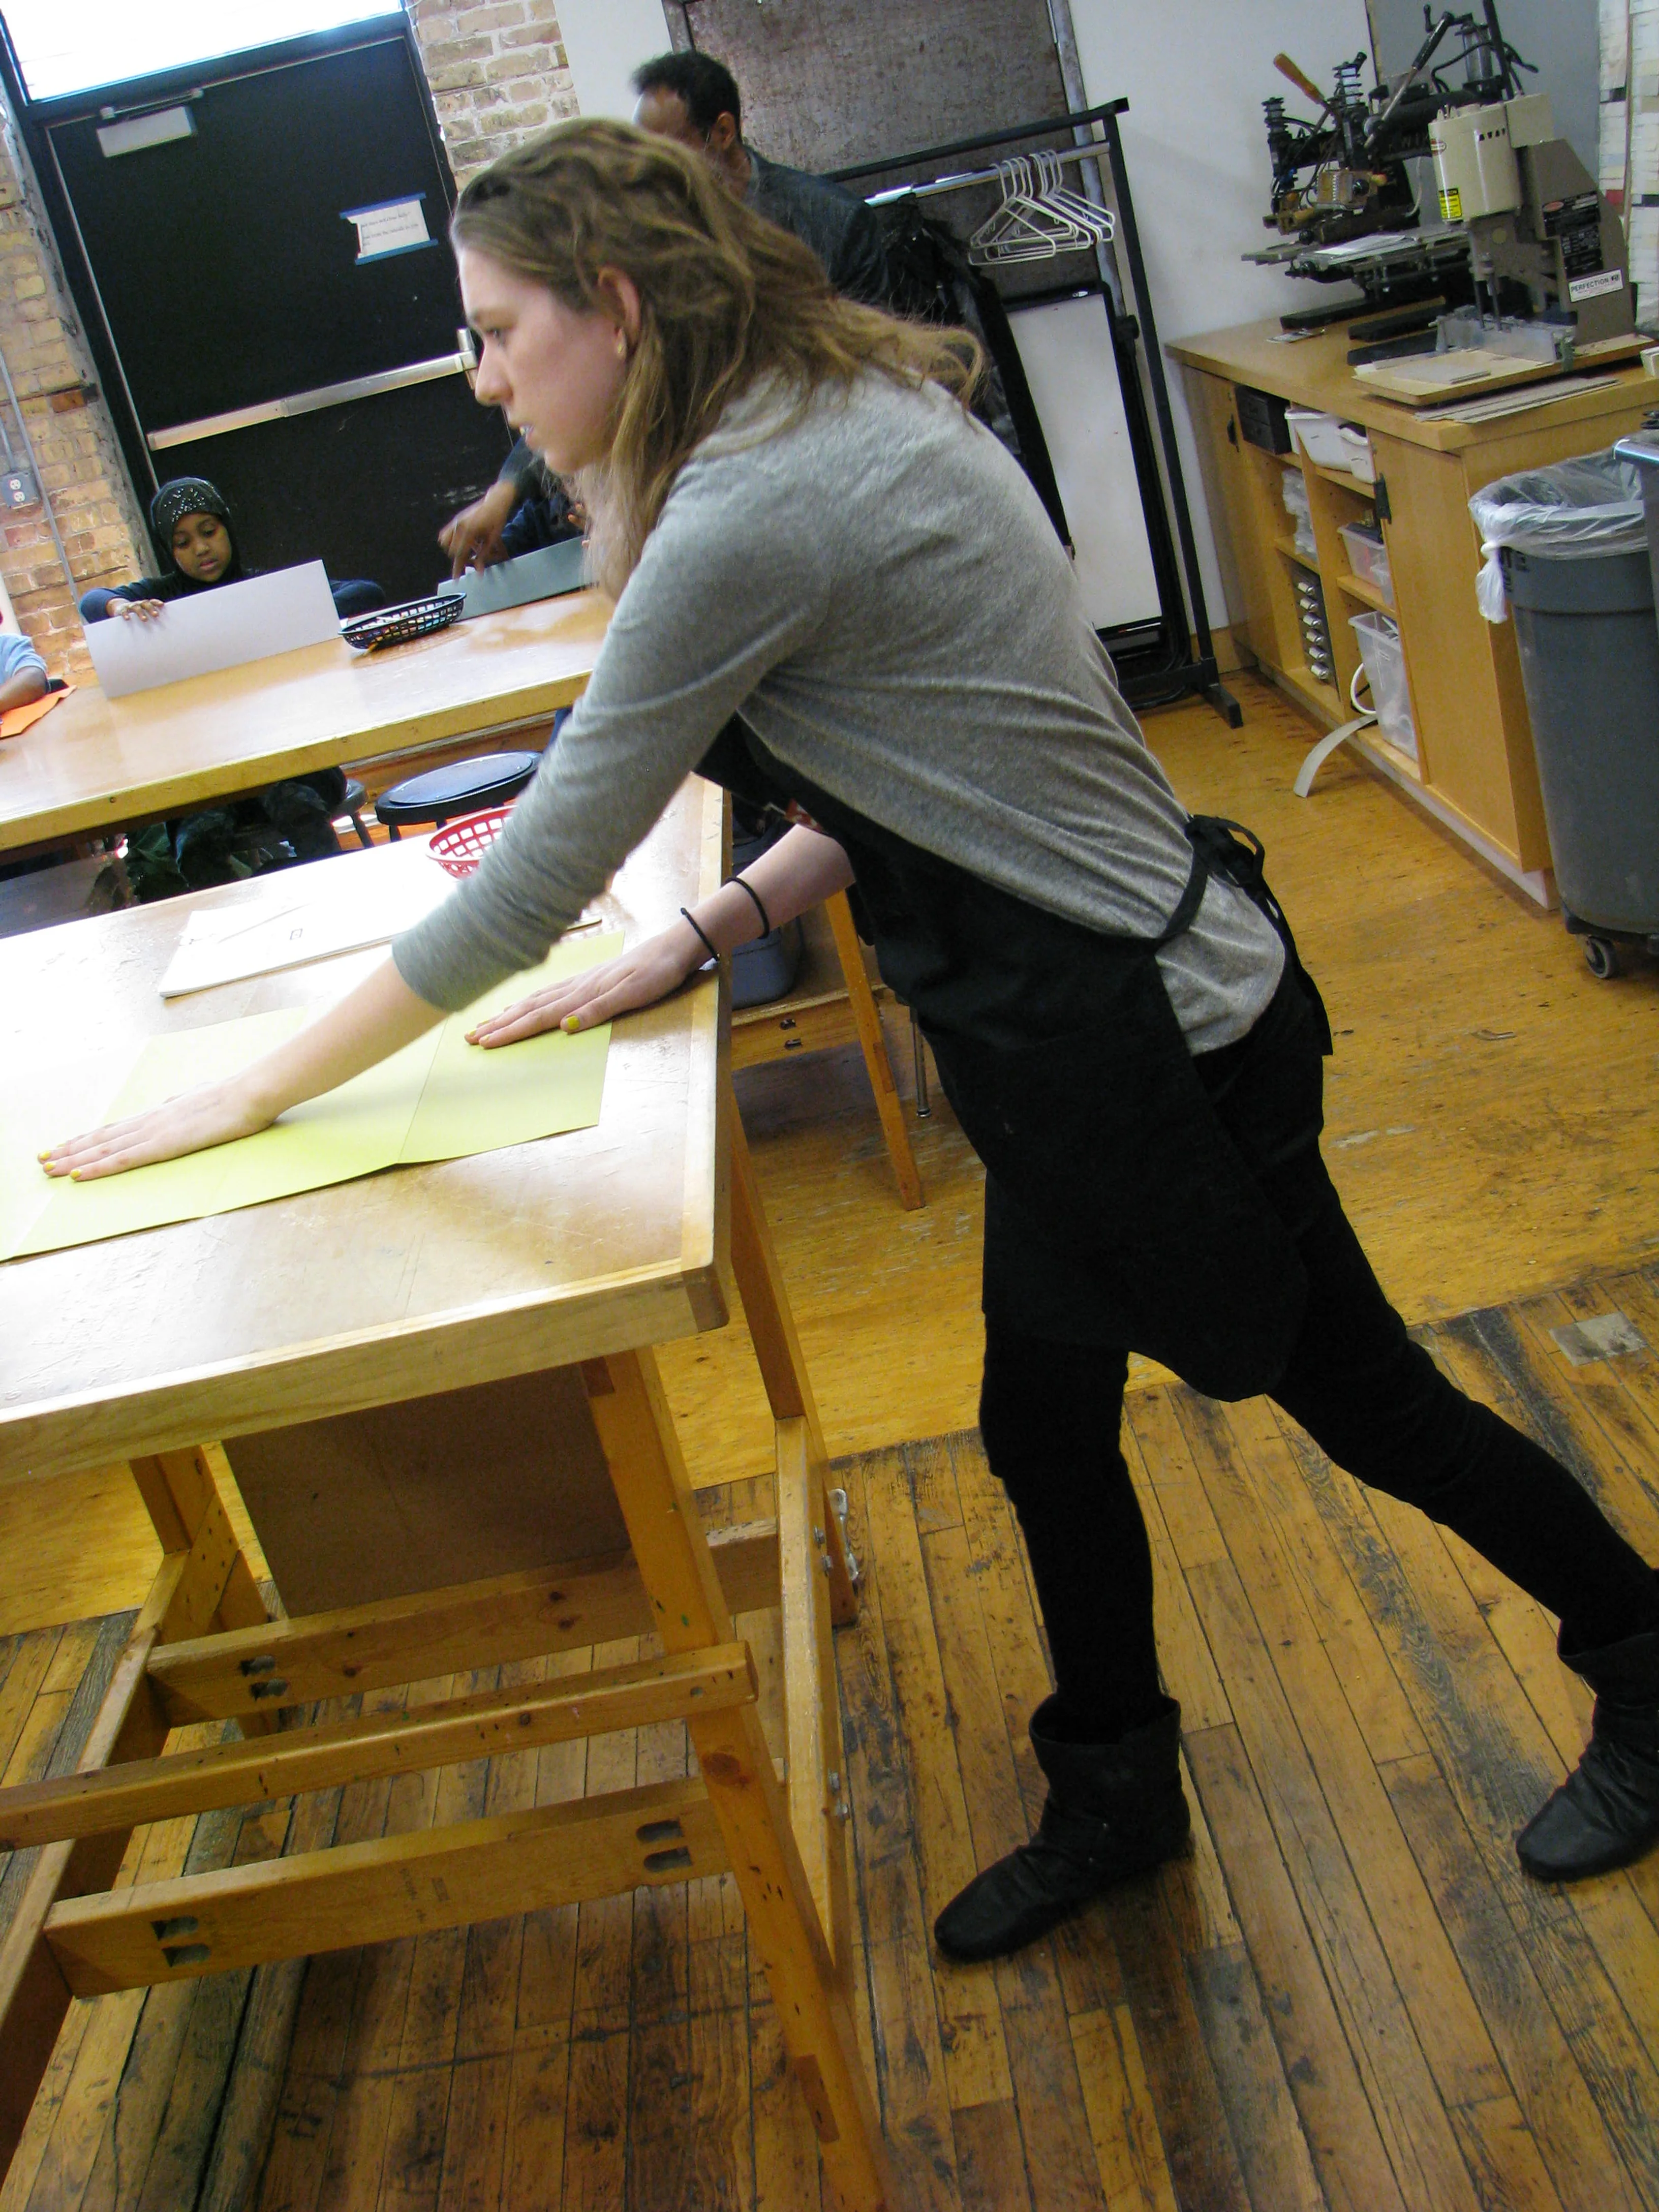
Teach them how to fold the structure
Fold in half the long way
Fold each of those in half to create an 'M' fold
Open up and fold like a hotdog
Open again and refold like hamburger
Paperclip sheet to paper and cut along line
Have everyone open together and refold to create book
Fold the back mountains or trees to become the back cover.
Stamp books with signature stamp and have students sign
Students experiment and create individualized book interiors
Teaching Artist Reflection
This is a lesson specific to MCBA. How can it be individualized for the teaching artist?
The workshop time did not allow a reflection with students. Make certain to connect with teachers to ask them to reflect with students and get back to the teaching artist with responses.


