Planning Backward Model
Name of Project: Non-objective Art Enjoyment
Teaching Team Members: Hannah Northup
Age or Grade Level: High School Art
Visual Arts Content / Standards
Grades 9-12, Artistic Foundations, Visual Arts 9.1.1.5.1 Analyze how the elements of visual art including color, line, shape, value, form, texture and space; and principles such as repetition, pattern, emphasis, contrast and balance are combined to communicate meaning in the creation of, presentation of, or response to visual artworks.
Overview of Project
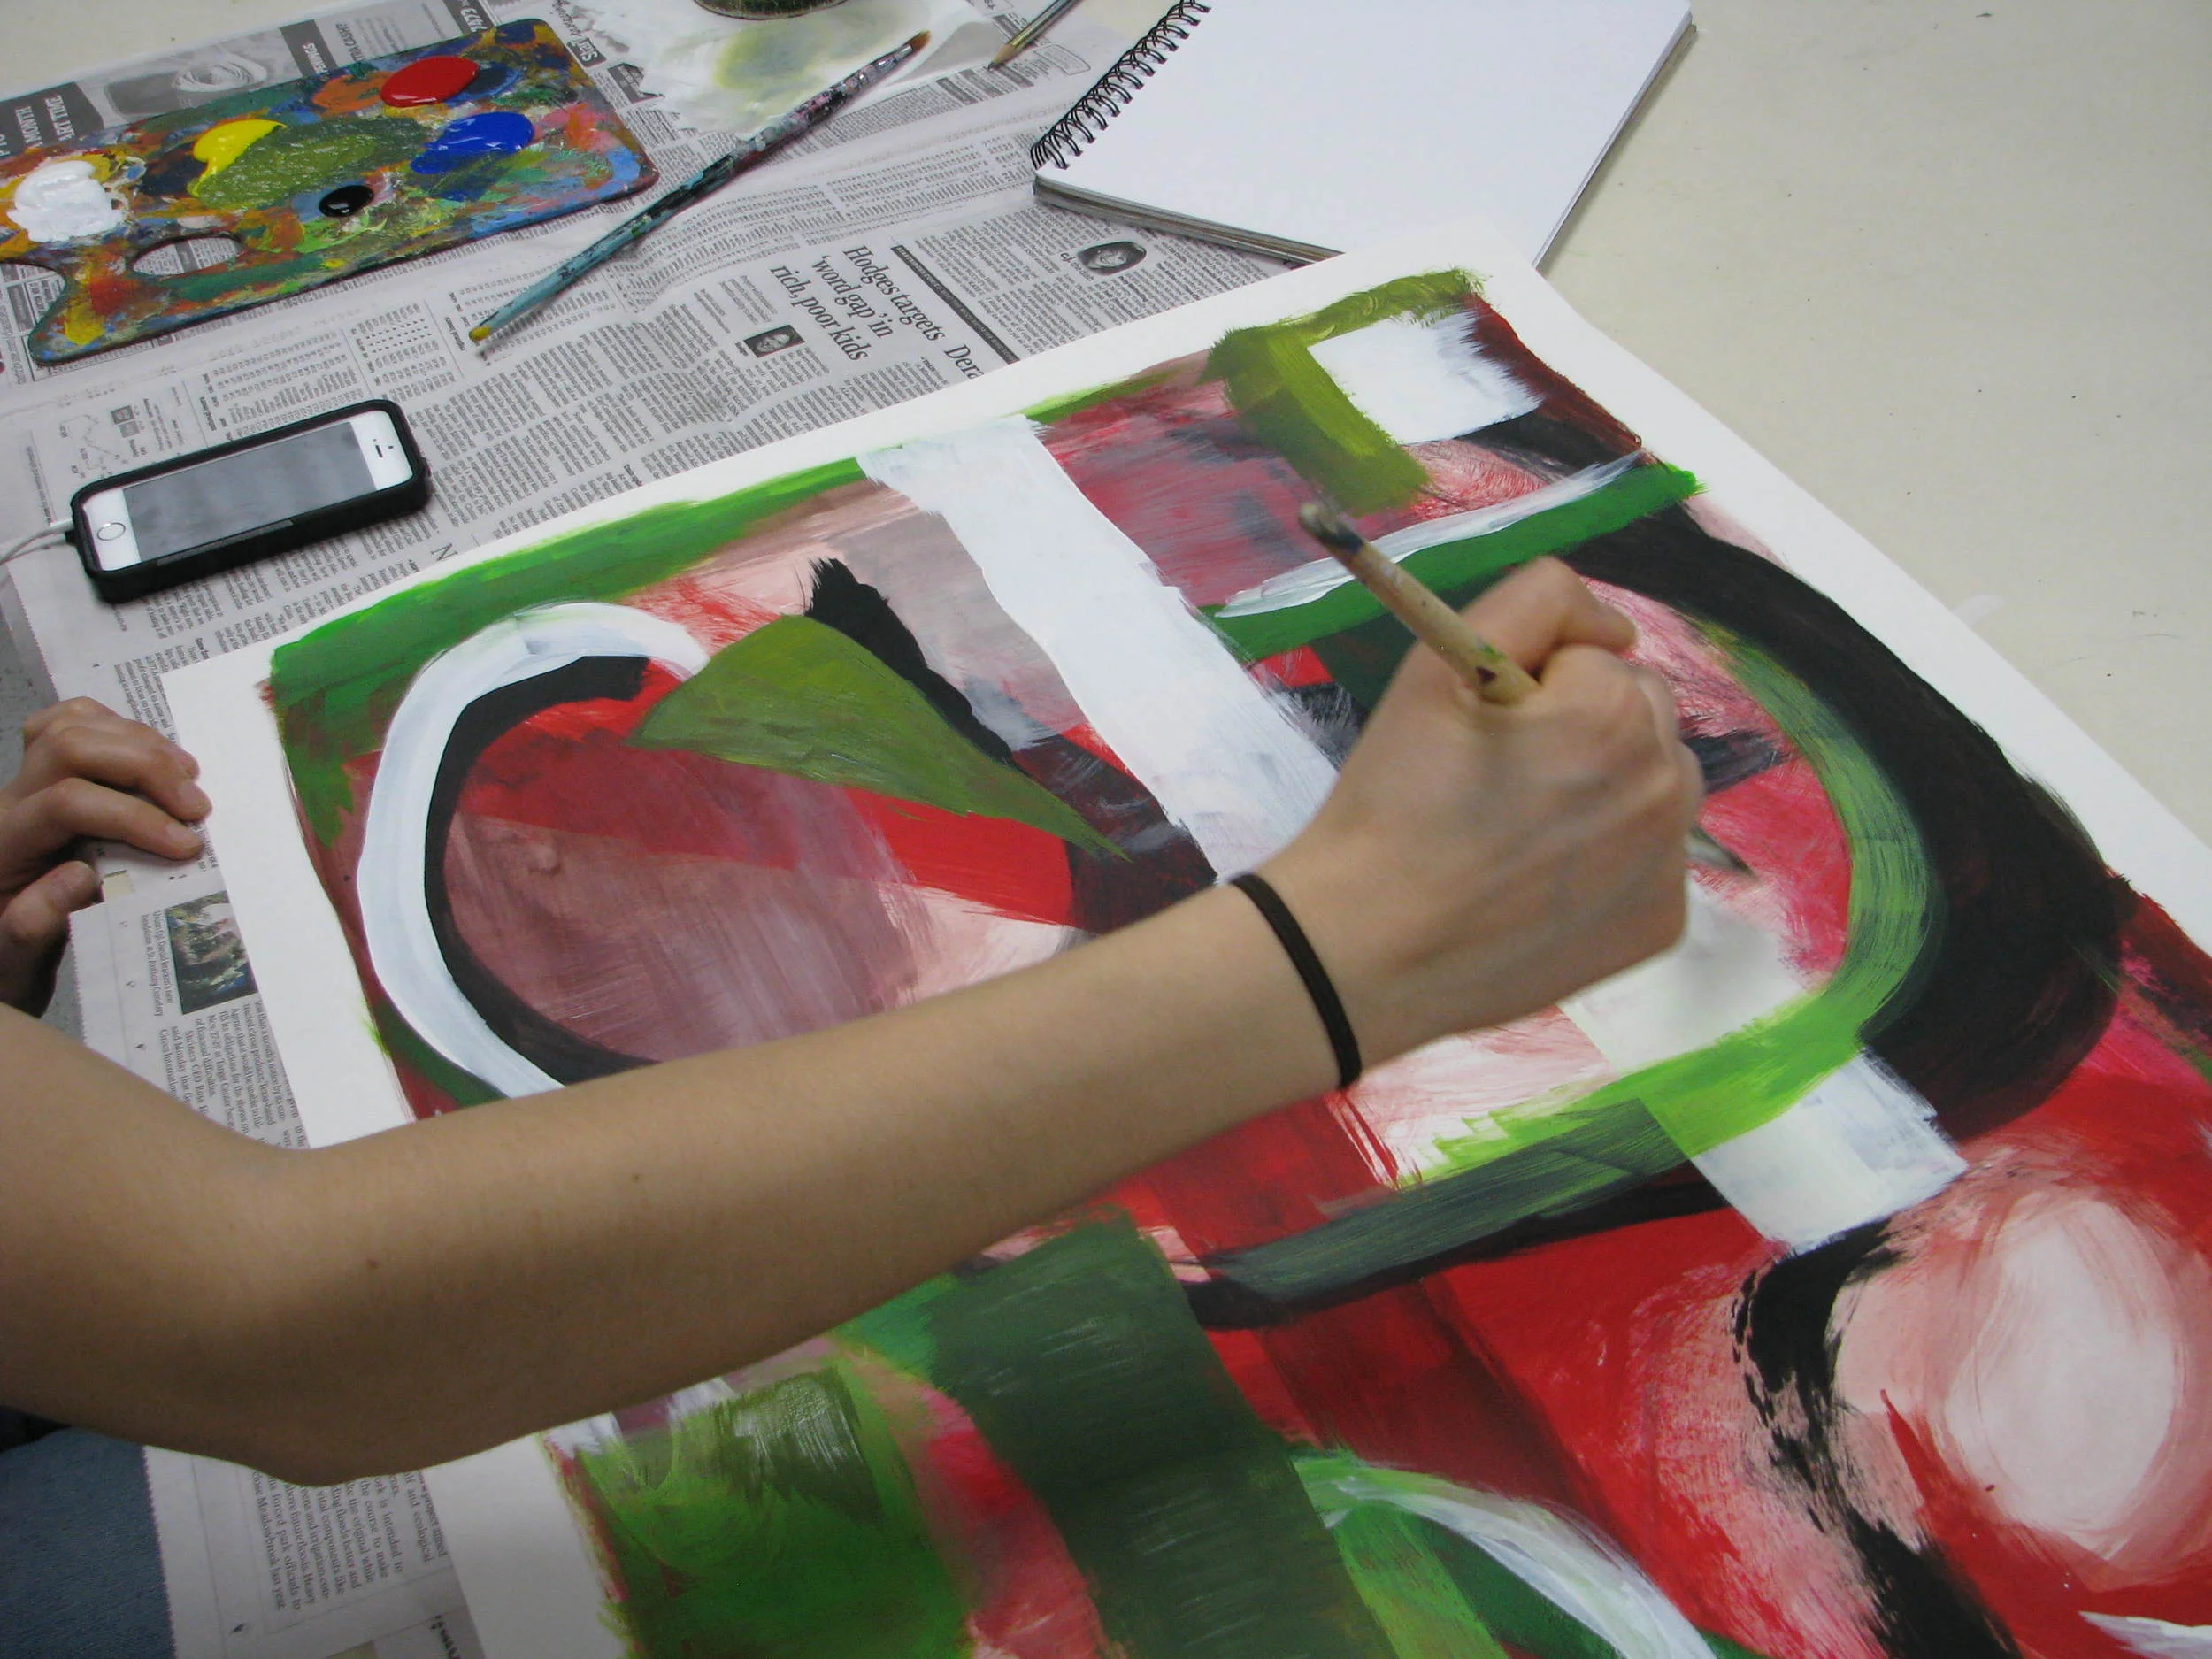
Students will use the elements and principles of design and color palettes to create a non-objective painting.
“Big Ideas”/ Essential Questions
The idea behind this project is not only to create a non-objective piece of artwork but also to introduce what happens when you layer the shapes created with more shape. What happens to color when it is blended with it’s compliment? The project engages students in experimentation and process.
Student Outcome Objectives
Students will:
1. UNDERSTAND colors and paint application as they create a non-objective painting.
2. APPLY principles and elements of design to the non objective artwork.
3. CREATE a personal, unique piece of non objective artwork
Prior Knowledge
The students need a basic understanding of the elements and principles of design. i.e. line, shape, paint application, and experience with monochromatic color and color vocabulary including: secondary, tertiary, primary, tints and shades.
Lesson Preparation Timeline
Meet with lead teacher. Prepare materials and Ppt presentation. (4 hours)
Examples of Artwork
In the PowerPoint shows examples of artwork by Kandinsky, Frank Bowling, Norman Lewis, Howardena Pindell, Lee Krasner, George Morrison and textile artists from Africa, Jerusalem.
Assessment
As the students work, ask questions about their piece concerning process, color and content. Each piece is evaluated with a grading rubric.
Materials
Paper, 2 sizes, 24x20 and 20x18
Acrylic paints: yellow, red, blue, black, and white
Paintbrushes, various acrylic brush sizes: 2-4, house brushes: 2inch-4 inches
Tape
Pencils
Mixing palette
Water cup
Paper towels
Learning Activities and Timing
ay 1
1. Welcome and introduction of topic and project process and requirements with Ppt presentation (10 -15 min)
2. Painting and process demo to give further instruction on how to start the project (10 min)
3. Students will gather materials (3 min)
4. Students will begin to work on their paintings, mixing paint, etc. (45 min)
5. If students finish quickly I will give the next step of the process to go over the first painting with the complimentary color of their piece. (5 min)
6. Students will continue to work on their pieces while I ask questions of what they notice, their problems, how they solved them, etc. (10 min, 5 min of questions)
7. Students will clean up (3 min before bell)
Day 2
1. Give reintroduction to project. (5 min)
2. Allow students to gather materials (5 min)
3. Explain to whole class about the complimentary shapes from yesterday because students may not have gotten there yet. (10 min)
4. Allow work time (65 min)
5. Allow time for cleanup (5 min)
Day 3
Reminder of project plus introduction how to decide on the dominant color of their piece to mix and create a color with the two complimentary colors they have chosen (15 min)
Students gather materials (5 min)
Work time (65 min)
Cleanup (5 min)
Day 4
Reminder of project (5 min)
Talk about finishing up and adding in the dominant color to add accents to the piece. (10 min.
Students gather materials (5 min)
Work time (60 min)
Clean- up and turn in (10 min)
Day 5
Pieces returned (5 min)
Quick class critique of project. (What do they notice, what works, how does this piece reflect what they have learned?) (10- 15 min)
Introduction to next project
Student Images


