MCAD TEACHING ARTIST PRACTICUM
PLANNING BACKWARDS MODEL
Teaching Artist: Calvin Hafermann
School and Teacher: MN Perpich Arts High School, Jeremy Lundquist
Students age: 11 and 12 grade
Visual Arts Standards: Visual Arts 5.9.1.2.1
1. Create
2. Organize and develop artistic ideas and work.
1. Through experimentation, practice, and persistence, demonstrate acquisition of skills and knowledge in a chosen art form.
Overview of Project
Students will learn the method for separating images into bitmapped CMYK layers using Photoshop. These color separations can then be exposed onto screens and printed. Students will also learn about print order and proper print registration necessary for CMYK prints to work.
Student Outcome Objectives
Students will use: knowledge, application, and synthesis
1. Students will use prior knowledge of photographic screen printing processes as a foundation for more the more technical skills presented in this lesson.
2. Students will use multiple skill sets in digital and physical making in order to apply the skill sets that are taught.
3. Students will synthesize their work, concepts and imagery with the new skills learned to create an edition of prints.
Prior Knowledge
A decent level of experience, or at the very least comfort with photographic screen printing processes, basic printing technique and experience with registering multi-layer prints. A level of comfort or knowledge for setting up and using registration systems is recommended.
Lesson Preparation Timeline
Wednesday, Feb 14th; Initial discussions with Jeremy regarding content, structure. Beginning of CMYK lesson packet.
Monday, Feb 19; More discussion, continue with CMYK packet work.
Tuesday, Feb 20; Meet with Lynda, discuss lesson plans and planning backwards model. Get personal screens from studio to prep demos.
Friday, Feb 23; Purchase photo emulsion, reclaim screens.
Wednesday, Feb 28; Check in with Jeremy about lesson plan and timeline.
Monday, March 5; Teach main part of lesson (photoshop separations and file management).
Monday, March 5 or Wednesday, March 7; Follow up printing demo to show print order and layer progression, to be given as needed
Examples of Artwork
A couple of my own works, as it’s something I’ve used a lot. One fairly conventional four color process print, and one that utilizes both four color and spot color.
OTHER EXAMPLES: A couple of Drew Petersons older pieces, some works by Makenzie Flom (former Highpoint Jerome fellow)
Additional Resources
Screen Printing: The Complete Water Based System
Materials
Diazo TZ photo emulsion, $43.
Ink will be provided by Perpich, in order to keep things consistent.
Learning Activities and Timing
1.(DAY 1) Introduce the technique in terms of setting up positives and actual printing, and give a basic background to the class as a whole. Students that are interested can continue to work with me further, 10 minutes.
2.(DAY 1) Go through the photoshop and file setup process with interested students. I will use my laptop (or a Perpich computer) to demonstrate how to color separate an image and convert it to bitmap files that will align correctly (25 minutes). The exposure process is exactly the same as the for any other print, but I will explain that it is helpful to label your screens to avoid mixing colors.
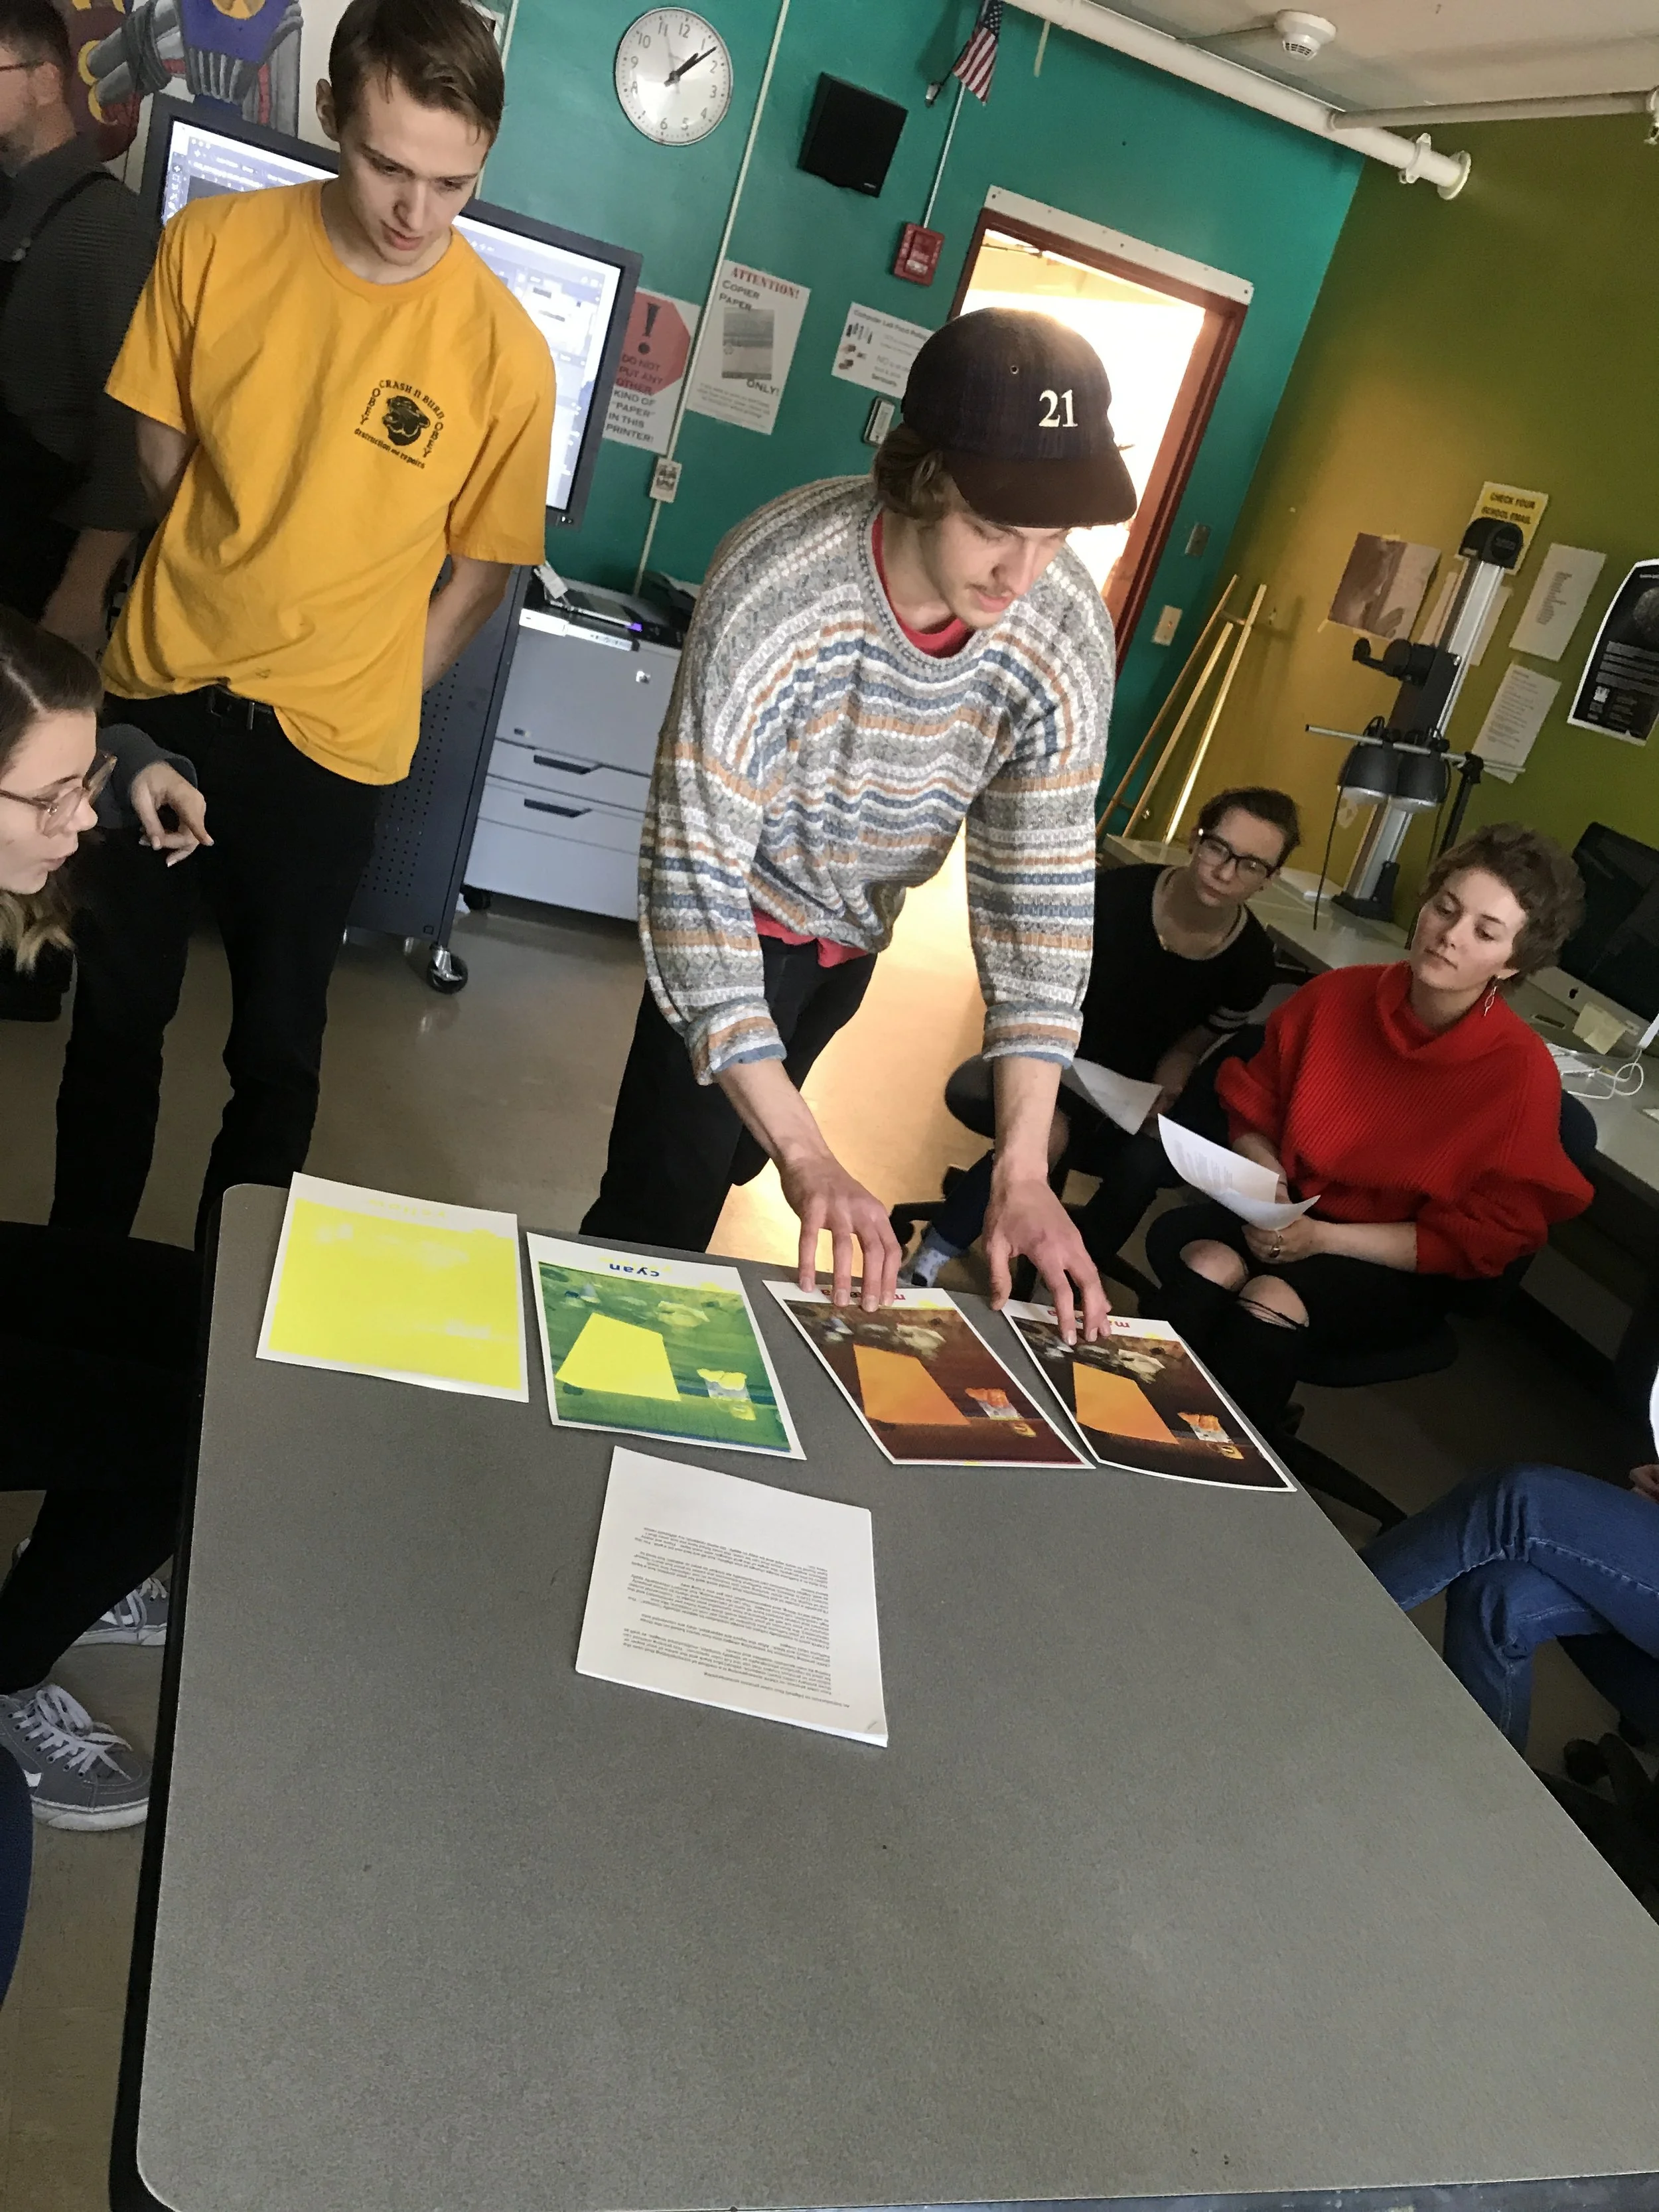
3. (DAY 1 or 2) I will explain and go through the printing process with students. This will require further discussion with Jeremy, but I may prepare a series of demo prints that show the printing process at each step, as well as bring in a partially completed print to finish for the demo.
Teacher Reflection
I guess a potential problem could come in terms of how technical of a lesson it is; I taught this skill to myself and these students are self-sufficient and resourceful, but I want to be aware of differing skill levels with photoshop, levels of confidence in the printing process, etc.
As far as fitting the lesson into the overall curriculum, it’ll set the students up with a new skill that can be used for their final prints in the the class. The project is essentially self-guided in terms of content and output, so hopefully it will be useful or compelling, or a catalyst for some new work.
I will be taking photographs of finished prints that use the technique, as well as images of work in progress (both physical and digital).
I will discuss the lesson with Lynda after the fact, and hopefully with Jeremy as well. Some student feedback is anticipated too.
